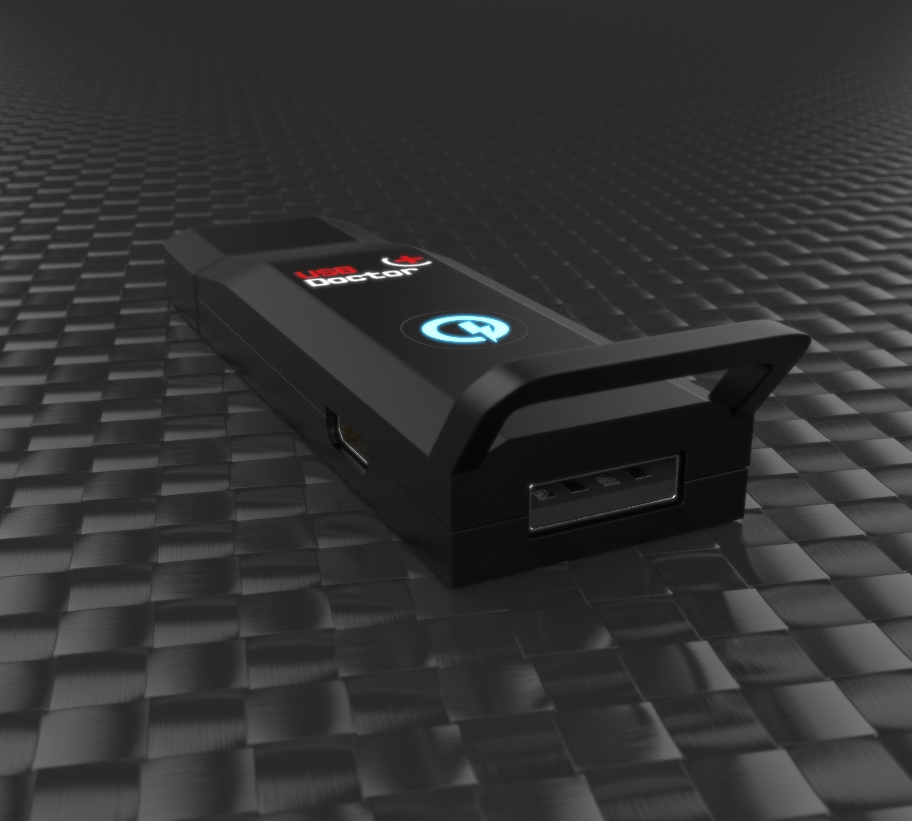
Place it as an "always on" adapter on your existing USB/Sync cable and remove only when you want to sync.
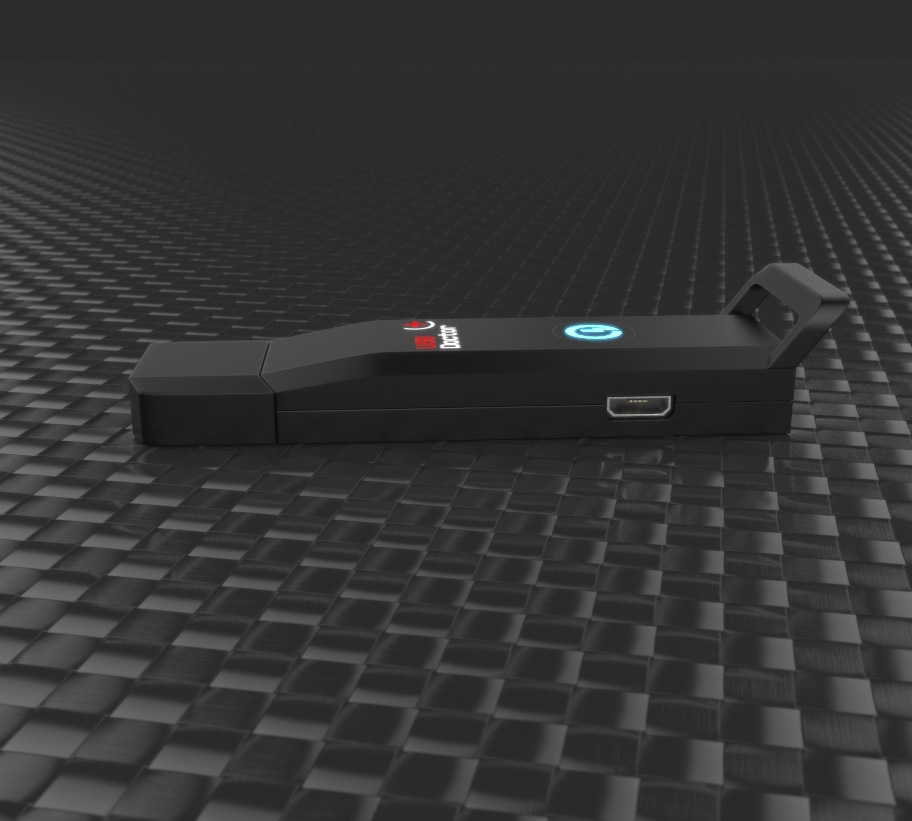
Plug Dr.USB QC2.0 to any USB port or charger.
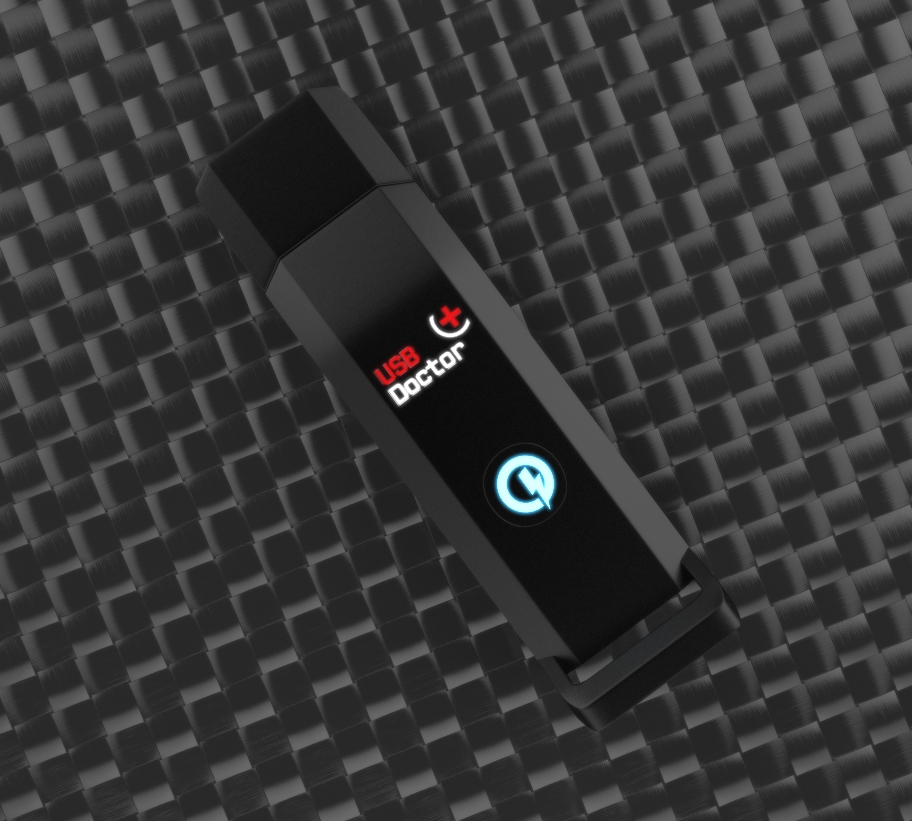
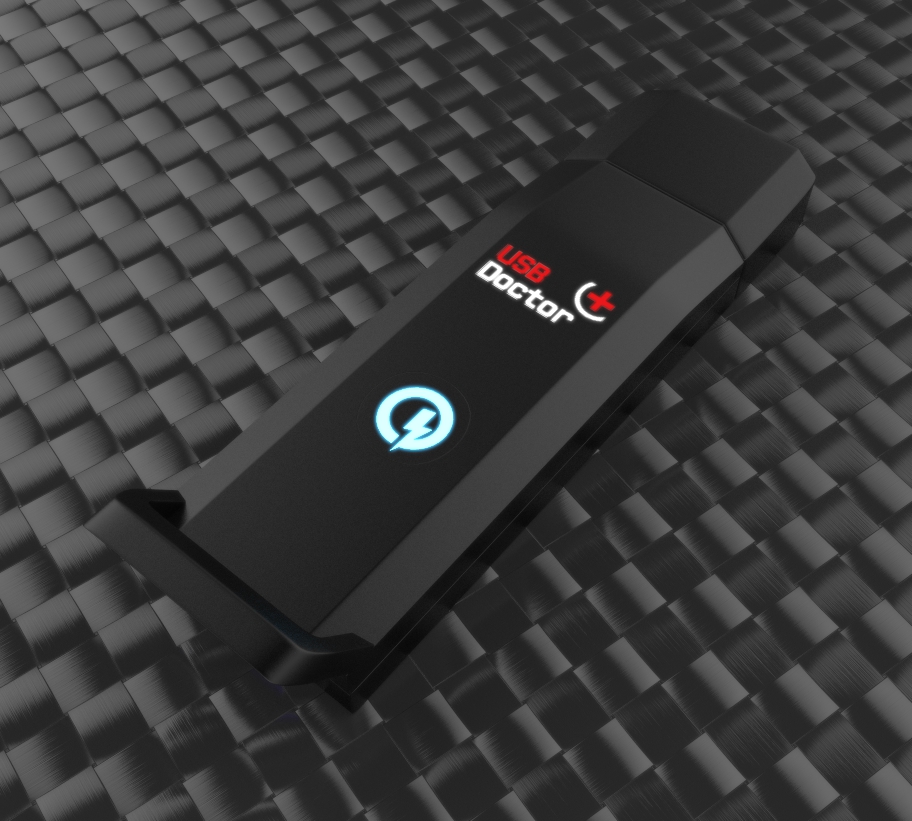
Central Led/Button allow you to select the operating and power saving mode.
1. Hold the Central Led/Button when connecting Dr.USB QC2.0 to USB port or charger to select you preferred operating mode:
If Led flash from Bright to Dark: its in Android mode, If Led flash from Dark to Bright: its in Apple mode.
2. Once connected you can press the Central Led/Button to select power saving mode:
Press once for Always Power On mode, Press twice for auto power off after charge is complete, Press three times for autopower off after charge is complete and perform a wake up check every 30min.
To save your preferred power saving mode, simply hold the central Led/Button for +2sec
You can use the supplied macro USB to earphone connector cable for Android/iOS APP monitoring.
Q:How do I know in which predefined mode the unit is?
A: When you plug the USB Doctor QC2.0 dongle to a USB Power Supply (PSU) or USB port, you can observe that the LED will "fade to black" (light to dark) means its in Android QC2.0 mode or "fade to white" (dark to light) mean its in Apple mode.
Q:How I can change the predefined mode?
A: If you plug the dongle while holding the tag switch, it will switch mode and save it to internal memory.
Q:If I connect an apple device when the unit is in Android QC2.0 mode, what will happen?
A: Once QC2.0 charging routines confirm the unit is not compatible, USB Doctor QC2.0 will autoswitch to apple mode for charging the connected apple device at max output power.
Q:How can I check in which power saving profile the unit is set ?
A: USB Doctor QC2.0 have power saving profile:
A: Always power on
B: Auto power off after charge is complete
C: Auto power off after charger is complete and will auto check every 30min if battery needs more charge.
When the dongle is plug in a PSU or USB port, press the tag switch once and the LED will flash: If LED flash 1 time, it means mode A, if LED flash 2 times, it means mode B, flash 3 times means mode C.
Simply repress the tag switch to change mode and you can hold the tag switch for 2sec to save the current state in order to avoid a new setup every. After long press for 2 sec, you will see the LED light up for 2 sec, it confirms that settings are successfully saved.

 Turn a normal USB cable into a "charge only" cable.